Previous

Next
Home > Adding Application Components > Using the Find Icon > Using the Table Finder
 Previous |
 Next |
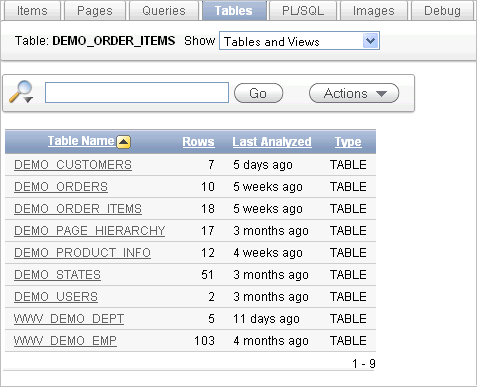
You can use the Table Finder to view tables within the schema associated with the workspace.
To view tables associated within the current schema:
Click the Find icon.
Click the Tables tab.
The Table Finder appears.

A search bar displaying the selected tab appears at the top of the page and contains the following controls:
Select Columns icon - Resembles a magnifying glass. Click this icon to narrow your search to specific columns. To search all columns, select All Columns.
Text area - Enter case insensitive search criteria (wild card characters are implied) and then click Go.
Go button - Executes a search.
Actions menu - Clicking the icon displays the Actions menu. Use this menu to customize an interactive report. See "Using the Actions Menu".
Select a table name.
A table definition appears.
This report displays the column names, data type, length, precision, and scale and the SQL necessary to re-create the table appears at the bottom of the page.