Previous

Next
Home > Using SQL Commands > Using the Command Editor > Using the Find Tables Icon
 Previous |
 Next |
The Find Tables icon resembles a flashlight. Click this icon to view tables within the currently selected schema.

To view tables within the current schema:
Navigate to SQL Commands.
From the Schema list, select a schema (optional).
Click the Find Tables icon.
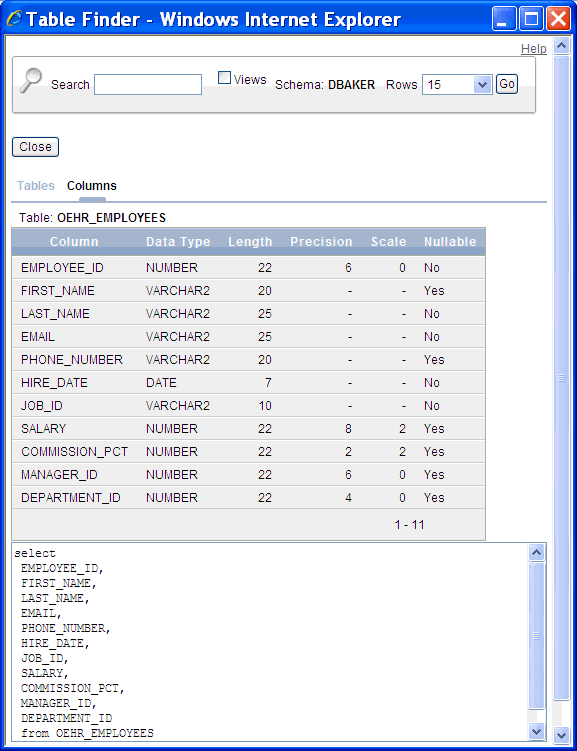
The Table Finder appears. A search bar displaying the selected schema displays at the top of the page and contains the following controls:
Search. Search for a table name. Enter case insensitive keywords in the Search field and click Go. To view all tables, leave the Search field blank and click Go.
Views. Select the Views check box and click Go to include views in the resulting report.
Rows. Determine how many rows display in the resulting report. To change the number of rows that display, make a selection from the list and click Go.
The Table Finder report appears displaying the table name, the number of rows, last analyzed date, and the object type.
Select a table name.
The Table Finder report appears.

This report displays the column names, data type, length, precision, scale and the SQL necessary to re-create the table that appears at the bottom of the page.